What gear you need to photograph a solar eclipse
The filter, the camera, the focal length, and one setting decision that matters more than any piece of equipment: how wide you bracket during totality.
By Skai · Updated 2026-08-10
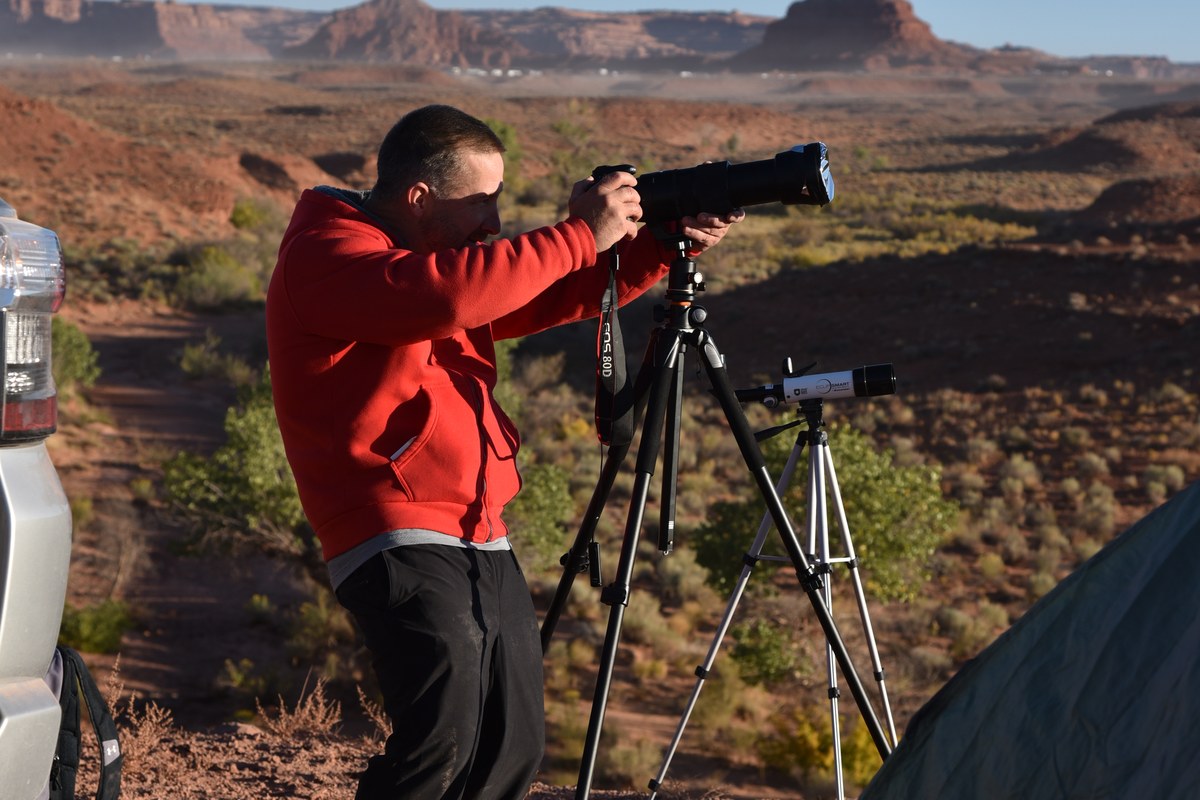
A telephoto on a solid tripod, set up before the event and left alone once it starts. Photo: BLM Utah
The gear list for eclipse photography is short, and none of it is exotic. What separates a usable set of frames from a wasted afternoon has less to do with which camera you own and more to do with two decisions: filtering correctly, and bracketing wide enough during totality. Here's what each piece of gear does and why.
The solar filter
A certified solar filter mounted on the front of your lens is the one non-negotiable item. It blocks the Sun's visible and infrared output to a safe level for both your eyes and your sensor during every partial phase, before and after totality. Buy a filter rated specifically for direct solar viewing or imaging. Sunglasses, welding glass of unknown grade, or exposed film are not safe substitutes. The filter mounts on the front of the lens, not behind it, and it comes off only during totality, when the Sun's disc is fully covered by the Moon. Put it back on the instant the first bright sliver of the Sun reappears (the "diamond ring"). Outside of totality, an unfiltered lens pointed at the Sun can permanently damage your eyes if you look through an optical viewfinder, and can damage your sensor either way.
The camera body
Any camera with a manual exposure mode works for this: a DSLR, a mirrorless body, or a bridge camera with a long built-in zoom. What matters is that you can set shutter speed, aperture and ISO by hand and lock them, because the auto-exposure modes on most cameras will actively fight the bracket you need to shoot (more on that below). Sensor size and resolution matter less than people assume. A competent exposure bracket from a modest camera beats a poorly exposed set from an expensive one.
Focal length: disc vs landscape
This is really two different photographs, and it's worth deciding which one you're going for before the day. For a corona that fills a meaningful part of the frame, you want 200mm or longer on a full-frame sensor (proportionally less on a crop sensor, since the crop factor multiplies your effective reach). For a landscape shot, say the eclipsed sky sitting over a horizon or a crowd silhouetted against the darkened sky, a wide-angle lens in the 14-35mm range is the right tool. A solar filter isn't even needed for that shot once totality begins, since the Sun's disc is far too small in the frame to matter. If you have two camera bodies, shooting both is common; with one body, decide which photo you actually want more.
Tripod
A stable tripod is essential at 200mm+ focal lengths, and it matters for a second reason too: registering (aligning) a bracket afterward is done against the edge of the Moon's disc, and that only works cleanly if the frame hasn't been reframed mid-sequence. Set your composition once totality is close, lock the tripod head, and don't touch it again until totality ends.
Why totality needs a bracket, not a setting
This is the part that trips up almost everyone shooting their first total eclipse, and it's worth understanding rather than just following a checklist. During totality the corona is visible: the Sun's outer atmosphere, streaming outward from the now fully covered disc. That corona has an enormous brightness range. The inner ring near the Moon's edge is blindingly bright compared to the faint, wispy outer streamers reaching several solar diameters out. No single exposure can hold both ends of that range. Expose for the bright inner corona and the outer streamers turn pure black; expose for the streamers and the inner ring becomes a featureless white blob.
The fix is to shoot a series of exposures spanning that whole range, a bracket. As a floor, plan for at least six stops of range: something like 1/1000s at the fast end and 1/15s at the slow end, with the aperture and ISO held fixed across every frame and only the shutter speed changing. Wider is better if totality length allows it; six stops is the minimum that gives merge software something real to work with. This isn't a preference, it's physics. A narrow bracket, or a single "safe" exposure, can't be rescued afterward by any amount of processing, because the missing brightness range was simply never recorded. Whatever gets left out of the bracket during those two minutes is gone for good.
A few settings to lock down before totality: turn off auto-exposure, auto-ISO, auto-brightness, and any in-camera HDR or night mode. All of these will try to "helpfully" clip your frames toward a single brightness and defeat the bracket. Fix your aperture and ISO once, and vary only the shutter speed through the sequence.
RAW vs JPEG
Shoot RAW if your camera supports it. It preserves the most tonal range per frame and gives the widest safety margin when merging. But don't let a JPEG-only camera stop you: a well-shot JPEG bracket, with auto-tone and in-camera processing turned off, still merges into a good result. The bracket's width matters far more than the file format it's captured in.
Shot your bracket already? Send it over, we merge it into one corona image by hand.
See the eclipse processing serviceFrequently asked questions
Do I need an expensive camera to photograph a solar eclipse?
No. Any camera with a manual exposure mode works: DSLR, mirrorless or a bridge camera with a long zoom. The camera body matters less than having a certified solar filter and shooting a wide exposure bracket during totality.
What focal length do I need for the eclipse?
For a disc that fills a meaningful part of the frame, use 200mm or longer on a full-frame sensor (less on a crop sensor). Wide-angle lenses (14-35mm) can't resolve the disc but work well for landscape shots that show the eclipsed sky over the horizon. Those are simply two different photos.
When do I take the solar filter off?
Only during totality, and only while the Sun's disc is fully covered. Keep it on for every partial phase and put it back on the instant the diamond ring reappears. Looking through an unfiltered lens or viewfinder at any other time can permanently damage your eyes and your sensor.
Why does totality need a bracket instead of one exposure?
The corona's brightness range runs from the blinding inner ring to the faint outer streamers, far wider than any single exposure can capture. A bracket spanning at least six stops (for example 1/1000s to 1/15s at a fixed ISO and aperture) captures the bright core in the short frames and the faint streamers in the long ones. Whatever a narrow bracket fails to record simply isn't there to recover later, no matter how it's processed.
Or find out what went wrong instead
Not sure your bracket turned out? Run it through the free diagnosis tool and find out what's fixable.
Get your free diagnosisFree, no signup, runs in your browser.