How to photograph the moon with your phone
You point your phone at a perfectly bright, full moon and get back a small white smudge with no craters, no shading, nothing. Here's why that happens, and the handful of settings that actually fix it.
By Skai · Updated 2026-08-10
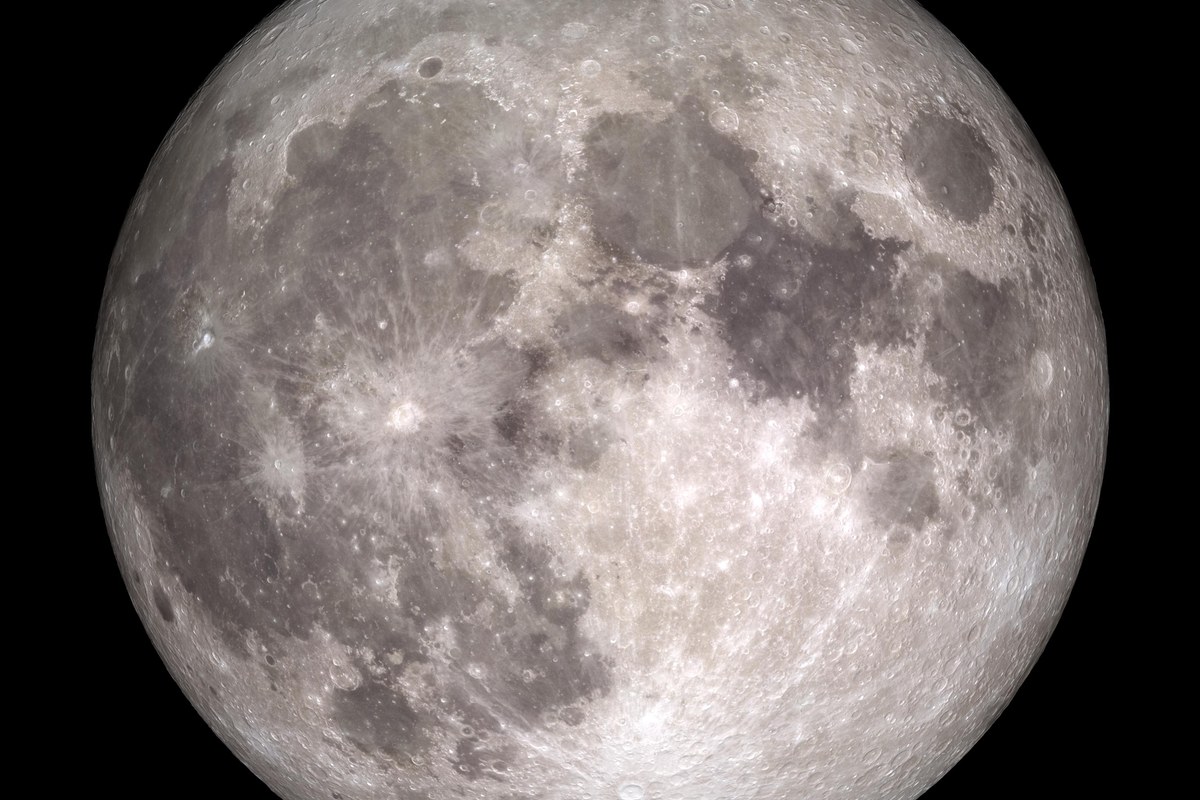
Photo: NASA
The moon is one of the easiest things in the night sky to see with your own eyes, and one of the most frustrating things to photograph on a phone. Your phone isn't broken. Auto-exposure is just doing exactly what it's designed to do, for the wrong subject. Once you know why, the fix takes seconds.
Why it turns into a white dot
Your phone's camera is trying to correctly expose the whole frame, and most of that frame is a huge, dark, empty sky. To brighten the darkness, the camera raises the exposure. The moon is actually a small, very bright object lit by direct sunlight, so it gets pushed way past white. The result is a flat, featureless disc with none of the shading, craters, or maria (the dark "seas") that are visible to the naked eye. The camera isn't wrong about the sky; it's just optimizing for the wrong part of the picture.
Tap the moon, then drag the exposure down
Tap and hold directly on the moon in your camera app until focus and exposure lock (you'll usually see a small sun or brightness slider appear next to the focus box). Then drag that slider down, not up. You're deliberately underexposing the rest of the frame so the moon stops clipping to white. Keep dragging until craters and shading start to show up on the disc. The sky around it will go nearly black. That's correct, and it's the trade you're making.
Use the telephoto lens, not digital zoom
If your phone has a telephoto lens (labeled 2x, 3x, 5x, or similar), switch to it before you zoom any further. That's real optical magnification. Push the zoom slider past what the telephoto lens covers and you're in digital zoom territory, which just crops and enlarges the same pixels the sensor already captured. You don't get new detail this way, only softer and noisier pixels. Zoom to the edge of the optical range and stop there.
Brace it, and kill the flash
Once you've dragged exposure down, the shutter speed slows to compensate, and any handheld shake at that speed smears out exactly the detail you were trying to recover. Prop the phone against something solid, use a small tripod or clamp, or brace your elbows against a wall or railing. Turn the flash off entirely too: it does nothing useful at lunar distance and can confuse the exposure metering into fighting itself.
Shoot burst mode, not one perfect frame
Instead of hunting for a single perfect shot, hold the shutter (or use burst mode) and fire off a rapid sequence of the same framing. Each individual frame will have a bit of noise or softness. But many frames of the same scene can later be combined, with the good, sharp bits reinforcing each other while the noise cancels out, and that pulls out more real detail than any single frame holds on its own. You don't need to do the combining yourself in the moment. Just capture the raw material by shooting more than you think you need.
A quiet warning about night mode
Night mode is built to brighten a dark scene by stacking a longer exposure. That helps a landscape, but it actively works against the moon itself, which is already the brightest thing in the frame. If your shot looks worse with night mode on, that's not a bug. Try turning it off specifically for the moon, even if you leave it on for the rest of the scene.
The video-frame trick
If your camera app won't hold still focus and exposure long enough to nail a photo, switch to video instead. Record 10 to 15 seconds of the moon locked down (exposure dragged low, phone braced, same as above), then scrub through the clip afterward and pull the single sharpest-looking frame as a still. A phone's video codec compresses harder than its photo mode, but you're trading a little detail for dozens of extra "attempts" in a few seconds, and one of them will land steadier than any single tap of the shutter. It's a legitimate stand-in for burst mode on phones that don't burst well in low light.
What your phone can really get
Be specific with yourself about the ceiling here, because it's lower than the marketing photos suggest. On a Pro-tier iPhone with a 5x optical telephoto, exposure dragged down properly and the phone braced, you can realistically get a modest-sized disc that isn't frame-filling, the dark maria clearly visible as distinct patches rather than a smooth blob, and a bit of texture along the terminator (the line between the lit and shadowed halves, where low-angle light casts the most contrast). That's a real, satisfying phone photo. It isn't a close-up with individually resolved craters.
On a non-Pro phone capped at 2x optical zoom, the moon stays small in the frame even with every setting done perfectly. Exposure and bracing fix the exposure problem. They don't fix the size problem, which only more optical reach can solve. Past that ceiling on any phone, closing the gap needs a telescope, a dedicated superzoom camera, or a phone adapter mounted to one. No software update gets you there.
Worth knowing, stated plainly and without picking a side: some recent phones ship a "moon mode" that recognizes the moon and layers in AI-sharpened crater detail beyond what the optics actually resolved. It's a genuinely contested feature; some users call it a helpful assist, others call it a fabricated photo. Nothing in this guide relies on that kind of processing. Every technique above pulls out detail that was really captured by the lens and sensor, which is also why the ceiling described here is honest rather than aspirational.
Not sure what went wrong?
Send the shots you already took, phone or camera, and find out what's holding the image back — free, no signup.
Get your free diagnosisRuns in your browser — nothing uploaded.