How to photograph satellites and the ISS
Two problems, one guide. Half of this is about catching the ISS or a Starlink train on purpose: a bright dot crossing the sky, or a faint streak in a long exposure. The other half is about the same kind of satellite showing up uninvited, as a bright line slashed across your deep-sky shot. Here's the honest version of both.
By Skai · Updated 2026-08-11
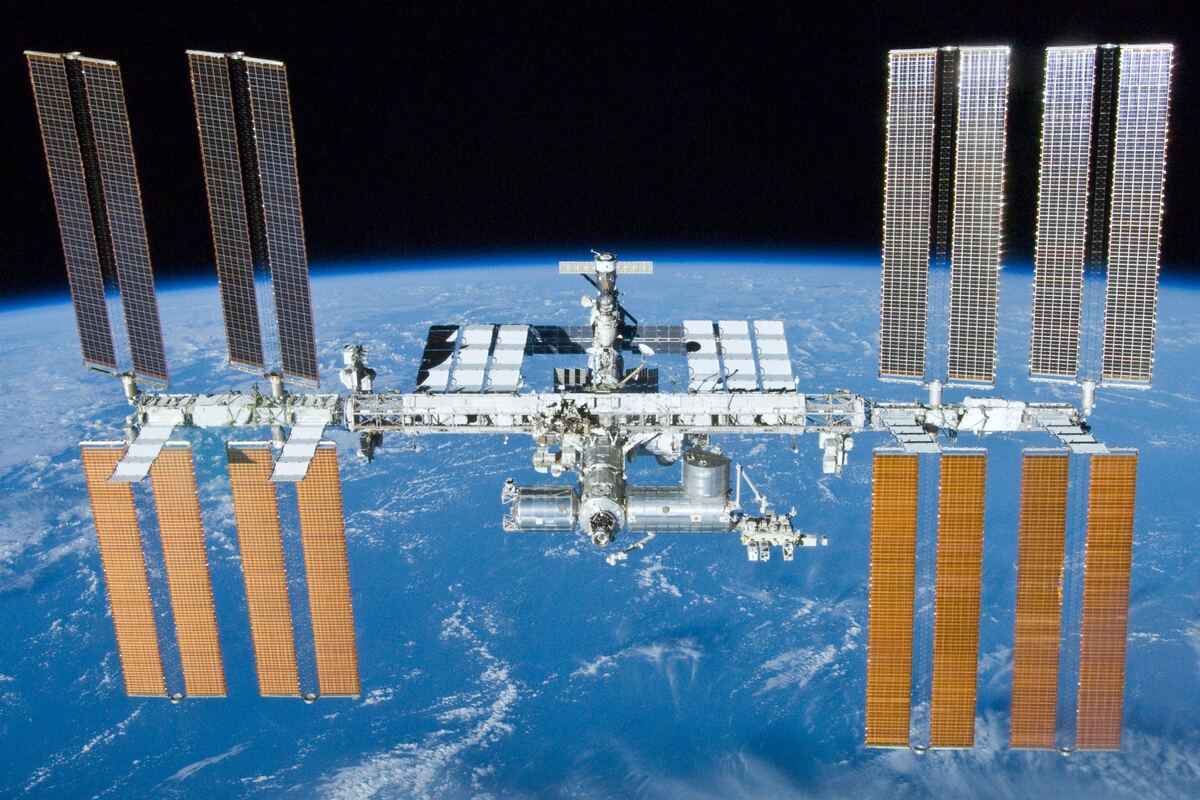
This is the ISS as a shuttle crew saw it from a few hundred metres away. From your garden it is a bright moving dot, and this guide is about catching that dot well. Photo: NASA
Set expectations first, because this is where most people get disappointed for no good reason. To your naked eye, the ISS is a bright, steady, fast-moving white dot with no shape and no detail, just clearly brighter and faster than any plane. Through a phone camera, the best you'll realistically get is a thin streak of light drawn across a field of stars over a long exposure, not a close-up of the station itself. Both of those are genuinely satisfying things to see and shoot, even if neither one is the zoomed-in station photo the marketing shots suggest. No setting tweak below changes that, because the ISS moves too fast and sits too far away for a phone lens to resolve real structure on it.
Find a pass worth setting an alarm for
Don't guess and don't rely on luck: two free tools tell you exactly when to look. NASA's Spot the Station and Heavens-Above both take your location and return a list of upcoming passes with the exact start time, how bright it'll be, how high it climbs, and which direction to face. Heavens-Above gives the more detailed pass chart if you want to plan a composition around it; either one is free and needs no account.
Not every pass is worth getting up for. Look at the magnitude number: a pass around -3 to -4 outshines every star in the sky and rivals Venus, which makes it the one to prioritize. For elevation, a pass climbing 20-60 degrees above the horizon is easier to frame with a foreground (a tree line, a building, a horizon) than a near-overhead pass, even though overhead passes are the brightest. Duration typically runs 2-7 minutes horizon to horizon, with the higher, brighter passes usually running toward the longer end, though you'll often only see part of that window before the station passes into Earth's shadow and vanishes.
Why tracking-app notifications let people down
A recurring complaint around ISS tracking apps is notifications arriving well after the pass is already over. By the time the phone buzzes, the station has come and gone, which defeats the entire point of the alert. Some users also report having to leave notifications off altogether because passes at odd hours (like the early morning) kept firing regardless of do-not-disturb settings. Free apps like ISS Detector are still fine for browsing pass lists, but don't stake a specific pass on a push notification arriving on time. Check Heavens-Above or Spot the Station the evening before and set your own alarm instead.
Settings that actually work for a phone or camera
A tripod isn't optional here: at the shutter speeds below, any handheld shake turns a clean streak into a blur. Switch focus to manual and set it to infinity, since autofocus reliably fails on a moving point of light in the dark, hunting back and forth while the pass goes by. Turn the flash off; it does nothing at orbital distance. From there, use a long-exposure or night-mode app with a shutter around 20-30 seconds and ISO in the 1600-3200 range, high enough to pull in the starry background, since the ISS trail itself is already bright enough to show at lower ISO. Start the exposure roughly 30 seconds before the pass is due, so you capture the faint start of the trail instead of just the bright middle of it. On iPhone, NightCap Camera has a dedicated ISS mode, and ProCam 8 and Slow Shutter Cam also work. On Android, Camera FV-5, ProShot, or Expert RAW give you the manual controls you need.
Why the Starlink train you saw once never came back
A freshly launched batch of Starlink satellites is only visible as an evenly spaced line of lights for about one to three days, while the whole batch is still clustered together in a low parking orbit, catching direct sunlight against a dark sky, typically near twilight. After that short window they raise themselves to their roughly 550km operating altitude and spread out along independent orbits, fading to magnitude 5-7 (binoculars territory, not naked-eye) and deploying sun visors that dim their reflected light further. If you saw "the space dragon" once and can never find it again, that's not you missing it. The train phase is genuinely over, and what's left is effectively invisible without equipment. Chasing a specific train more than a few days after its launch date isn't worth the effort; check for a fresh launch instead.
Telling a satellite apart from a meteor
A satellite is a steady, unblinking point moving smoothly and slowly enough to track with your eye across many seconds. A plane moves at roughly the same speed but blinks and usually shows red/green lights. A meteor is the opposite: a sudden, brief streak that's over in under a second, often brightening and fading along its own path rather than moving at constant speed. If you're chasing streaks in the sky specifically for meteors, our Perseids meteor shower guide covers the camera settings for that separately. They overlap with the satellite settings above, but the timing strategy is different.
The flip side: satellite trails ruining a deep-sky shot
If you shoot deep-sky targets (nebulae, galaxies, comets), satellites stop being the subject and start being contamination. Astrophotographer Dan Bartlett put it bluntly after a comet shoot plagued by trails: "Photographically, if someone is attempting to take a single image of a target and needs the image to be 'clean' — free of manmade objects — well, that image is nearly impossible to obtain." He added: "Every single subframe I take (prior to stacking) now contains at least one, and usually more than one satellite streak." With thousands of satellites now in low orbit, a single long exposure catching zero trails has become the exception, not the rule.
What stacking removes — and what it doesn't
The fix is not reshooting until you get a lucky clean frame. Instead, it means shooting a stack of subframes and letting rejection do the work. Stacking software compares each pixel across every subframe; a pixel that spikes far brighter than that same pixel in the other frames (because a satellite streak crossed only that one frame) gets rejected or replaced instead of blended in. The method is usually called sigma clipping or Winsorized/kappa-sigma clipping, and it's built into PixInsight, DeepSkyStacker, and most other stacking tools. It starts catching trails with as few as about 5 subframes, and gets reliable at a dozen or more, as astrophotographer Chris Schur described it: "If you take at least a dozen images to stack, then you can use a combine method called Sigma Rejection. This is available in nearly all astronomical imaging processing software."
The limitation worth knowing before you count on it: sigma clipping rejects outliers, and a moving satellite is only an outlier because it only touches one or two frames in the stack. A geostationary satellite sits in the same fixed spot in the sky, so it lands on the exact same pixel in every single subframe. Statistically it looks completely normal rather than an outlier, so rejection stacking does not remove it. If a stray dot in your final stack won't budge no matter how many frames you add, that's very likely why, and it needs manual retouching (a clone-stamp pass or a dedicated trail-removal step) rather than more subframes.
Not sure what went wrong?
Send the frames a satellite ruined and find out exactly what happened to them — free, no signup.
Get your free diagnosisRuns in your browser — nothing uploaded.